


So you have your hypervisor or your hardware that you will be using and are now ready to install your first virtual machine. In #2 of the Basics Series, we will be installing a Linux VM with a desktop, specifically Linux Mint.
While some will question why we are setting up Linux Mint before installing a server or a firewall to separate the lab environment from the production or main network, my rationale is rather simple. While we could take either of the other approaches, this series is for those with little or no experience in doing this. In addition, this is supplemental to what has already been done in the Cybersecurity Architect's Handbook and the Chapter 9 Lab document available on the Packt GitHub site. By setting up an easy to install and use Linux Workstation, the learning curve should be easier for new users to Linux to adjust and learn, as well as giving them time to build out a lab that best suits their needs.
So why install Linux Mint? Well the reality is you don't. You can choose one from the hundreds of different Linux Distributions. In fact, I personally use PopOS! as my daily driver for my workstation and laptops. With that in mind, many Linux users tend to bounce from distribution to distribution until they find one that fully meets their needs. Not every Linux distribution is equal and because of that there can be some that are better than others for new users to Linux. While PopOS! is very easy to use, Linux Mint with the Cinnamon Desktop makes it very easy for Windows users to transition to as a system.
Install Linux Mint
The simplest method to install Linux Mint is by using a bootable USB stick. Before you can create the bootable USB, you need to download the ISO or USB disk image. You can download Linux Mint Cinnamon Edition at the following link: https://www.linuxmint.com/edition.php?id=311
Create a Bootable USB
There are various ways to do this. You can use tools like Balena Etcher or my preference which is Ventoy.
- Etcher - https://www.balena.io/etcher/
- Ventoy - https://github.com/ventoy/Ventoy
Using Balena Etcher:
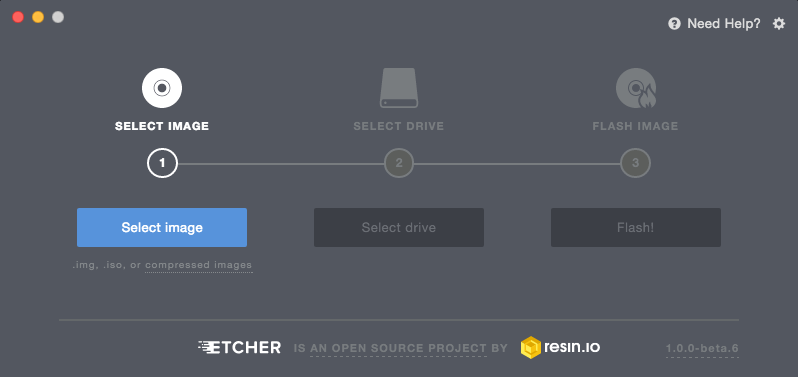
- Download and install the Etcher utility.
- Launch Etcher.
- Click on "Select image" and locate your downloaded ISO file.
- Click on "Select drive" and choose your USB stick from the list.
- Click on the "Flash!" button to start the process.
Using Ventoy:
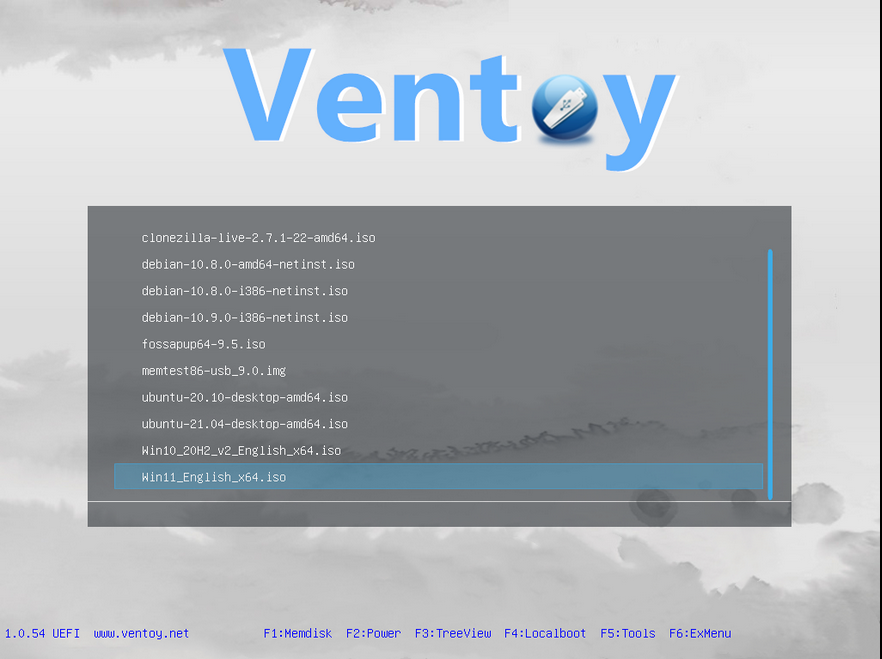
The benefit of Ventoy is that it supports having multiple ISO's available rather than a singular imaged drive, having to maintaining multiple USBs and also making better use of the more common large capacities found in USBs today.
- Download the appropriate Ventoy installation package for your system, such as
ventoy-x.x.xx-windows.zip, and extract its contents. - Run the
Ventoy2Disk.exeapplication. Note the following:Ventoy2Disk.exeis a 32-bit application that supports both 32-bit and 64-bit Windows PCs with Intel/AMD processors.- Starting from version 1.0.58, Ventoy also provides
Ventoy2Disk_X64.exe,Ventoy2Disk_ARM.exe, andVentoy2Disk_ARM64.exe. These files are located in thealtexedirectory of the installation package. To use them, copy the desired file to the same directory asVentoy2Disk.exe. - If
Ventoy2Disk.execonsistently fails, you can use Ventoy LiveCD as an alternative installation method (refer to the notes for more information at the following URL https://www.ventoy.net/en/doc_livecd.html).
- In the Ventoy2Disk application, select the target device (USB drive or local disk) where you want to install Ventoy.
- By default, Ventoy2Disk only lists USB drives to prevent misoperation. You can enable the "Show all devices" option to list all available disks. Exercise caution when selecting the target disk to avoid choosing the wrong one.
- Choose the desired partition style (MBR or GPT) for the installation. This option is only relevant during the initial installation and will be ignored during updates.
- Click the "Install" or "Update" button to start the installation process.
After the installation, you can manually reformat the Ventoy partition using file systems such as exFAT, FAT32, NTFS, UDF, XFS, or Ext2/3/4, depending on your requirements.
Install Linux Mint
Once you have created your bootable USB or or have downloaded the Linux Mint ISO, you can now install Linux Mint. Because there are various approaches for installation (bare metal hardware or through a hypervisor), I will not be going through explicit steps for get to the installation by either approach, but the installation steps will be the same once you get to that point.
Exploring the Live Session
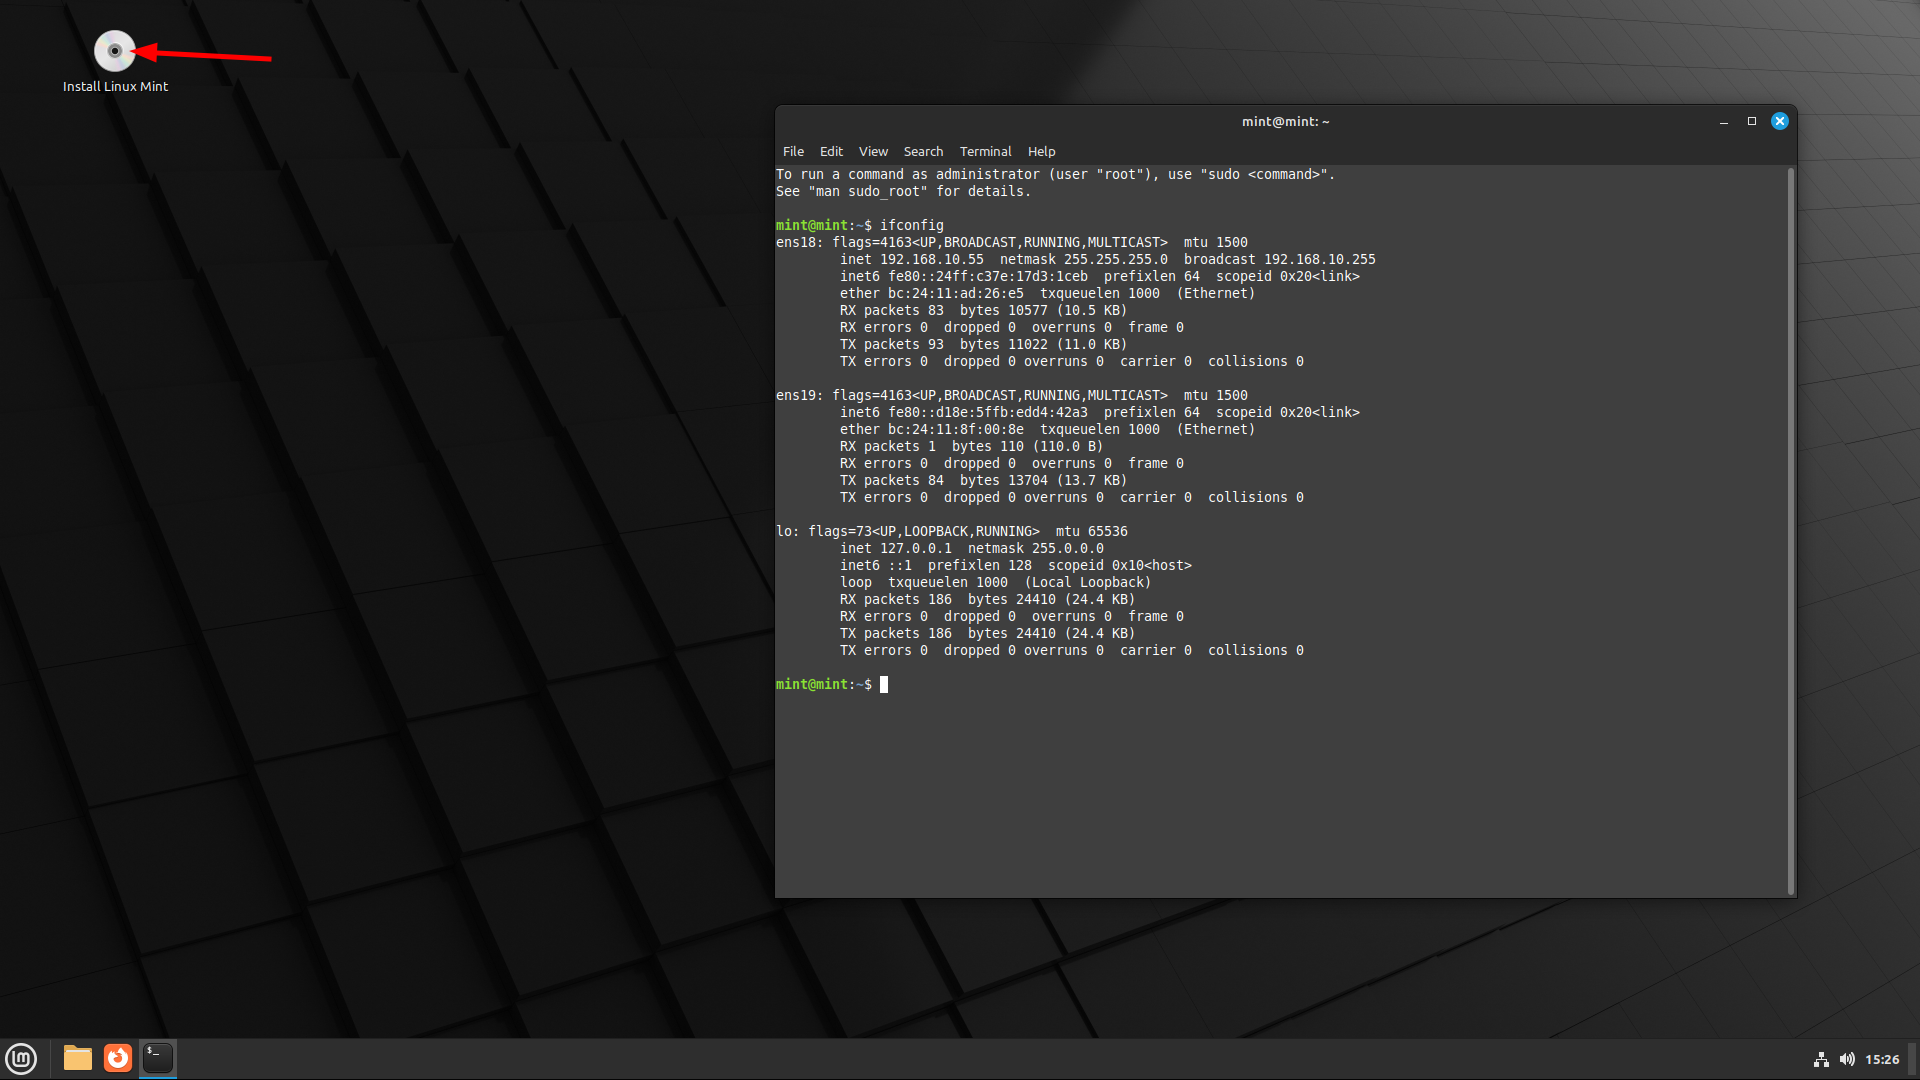
When you boot your computer from the Linux Mint USB stick or using the ISO with the hypervisor, it starts a "live session". In this live session, you are automatically logged in as a user named "mint", and you'll see a desktop with the installer readily available.
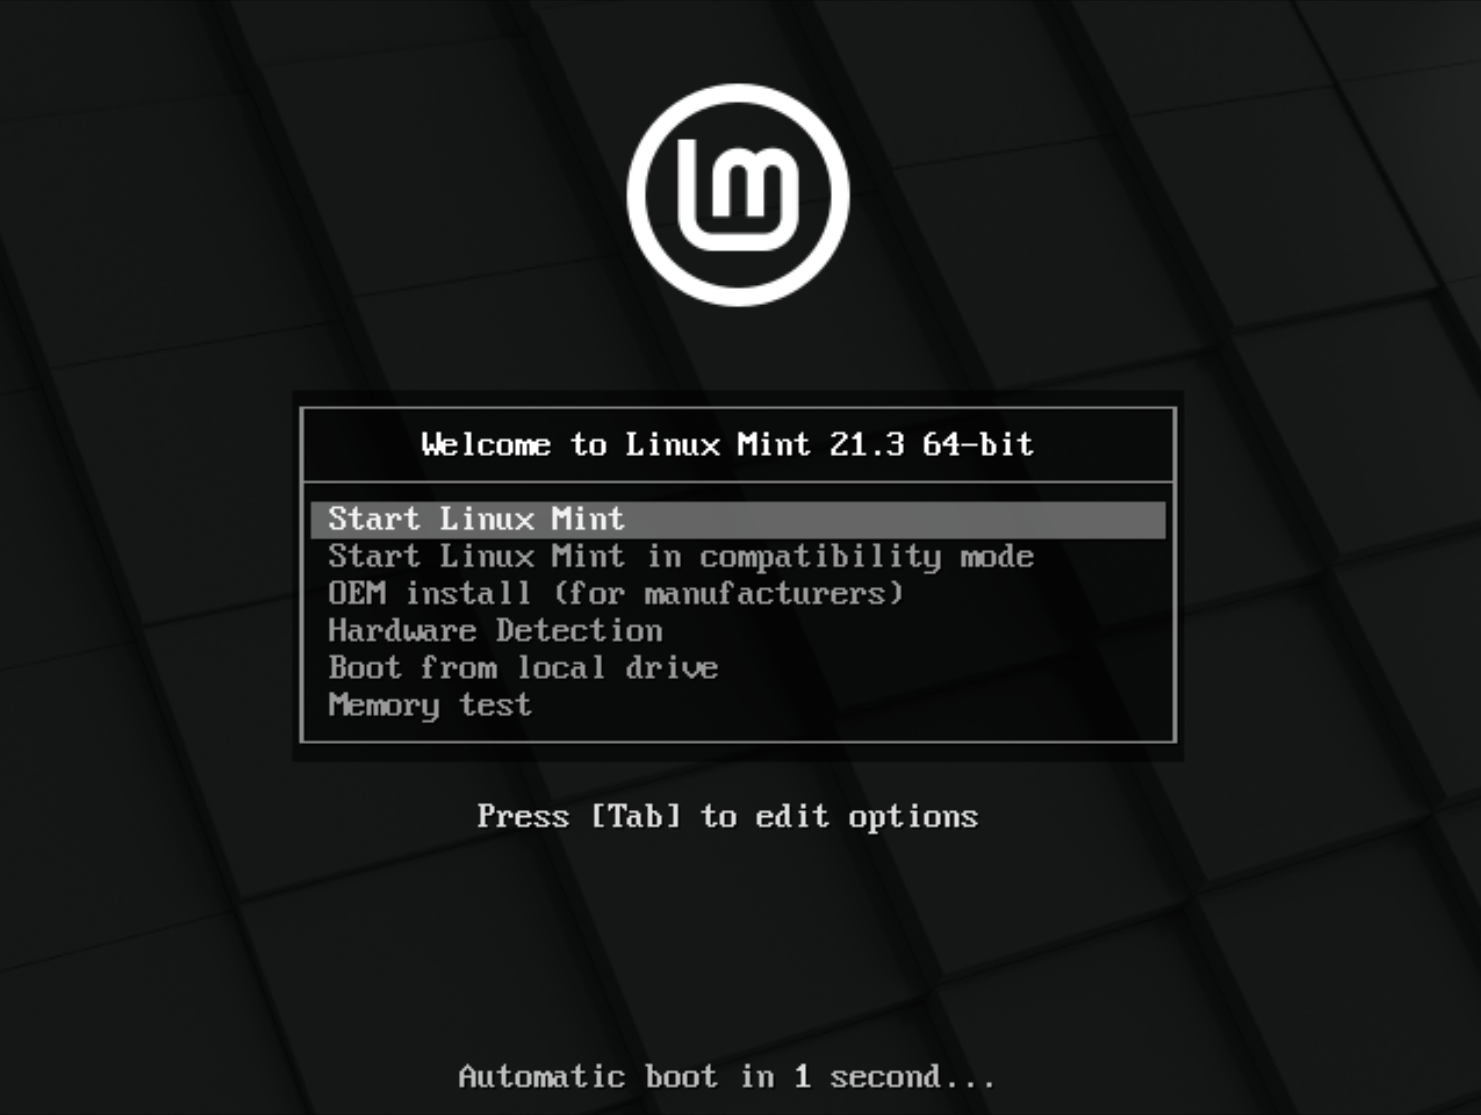
The live session closely resembles a normal session (i.e., Linux Mint when it is permanently installed on your computer). However, there are a few key differences to keep in mind:
- Performance: The live session runs slower compared to a permanently installed system because it is loaded from a USB stick or DVD rather than a faster storage device like an SSD or HDD.
- Persistence: Any changes you make during the live session are temporary and will not be saved permanently. These changes do not affect the USB stick (or DVD) or the system that will be installed by the installer.
- Application Behavior: Some applications may function differently or not at all in the live session. Examples include Timeshift, Flatpak, Update Manager, and the Welcome Screen.
Despite these limitations, the live session provides an excellent opportunity to explore and familiarize yourself with the Linux Mint environment before proceeding with the installation process.
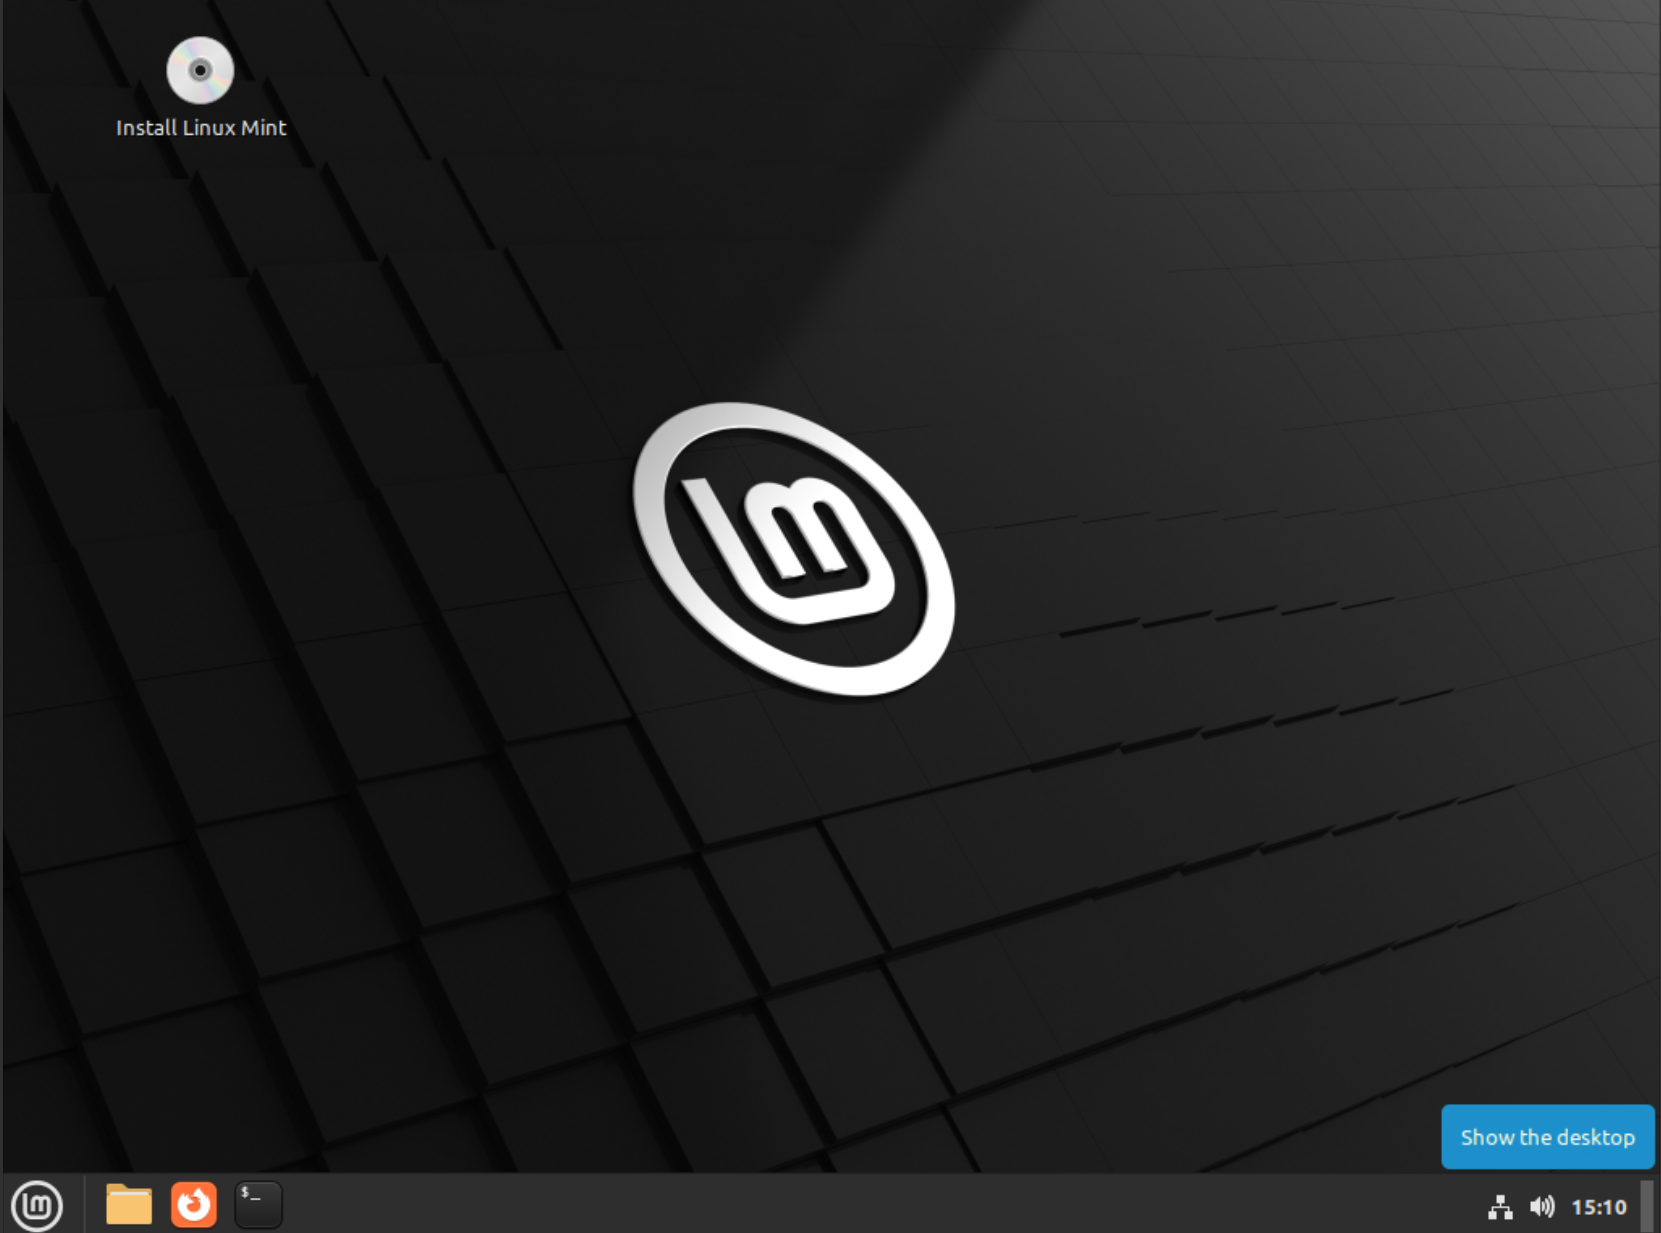
Installing Linux Mint Permanently
To perform a permanent installation of Linux Mint on your computer, follow these steps:
- Double-click on the "Install Linux Mint" icon on the desktop.
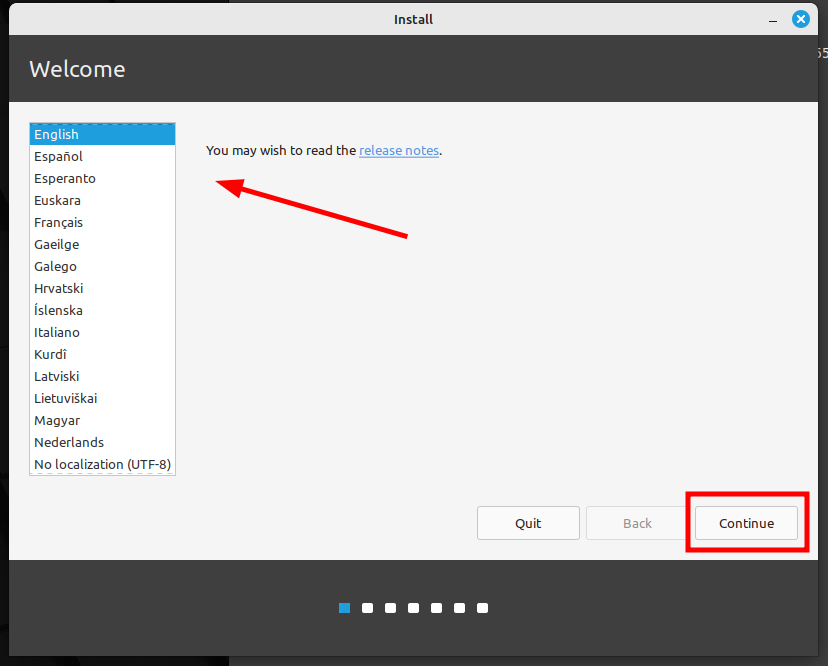
2. Select your preferred language for the installation process.
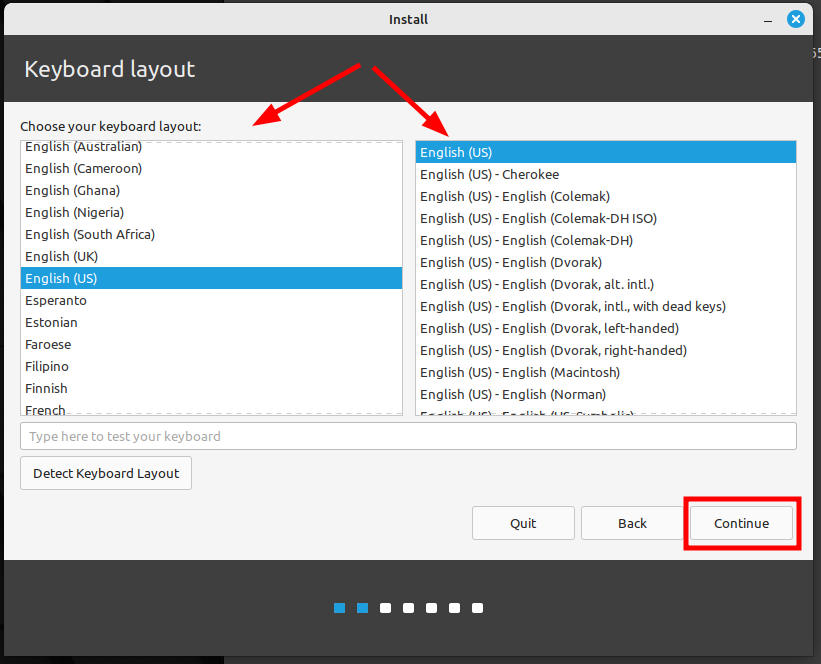
- And select the keyboard layout.
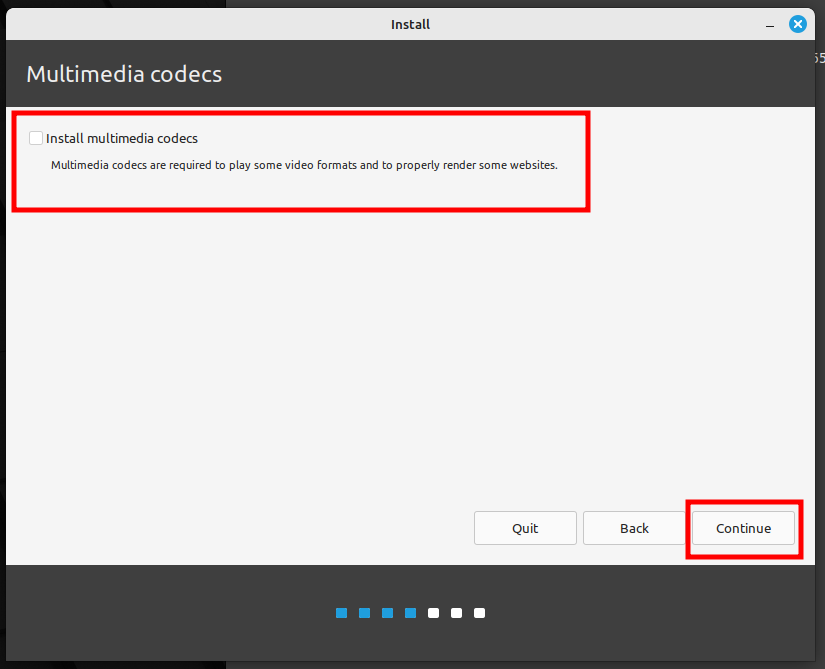
4. Connect to the Internet, if possible.
5. If you are connected to the Internet, tick the box to install the multimedia codecs.
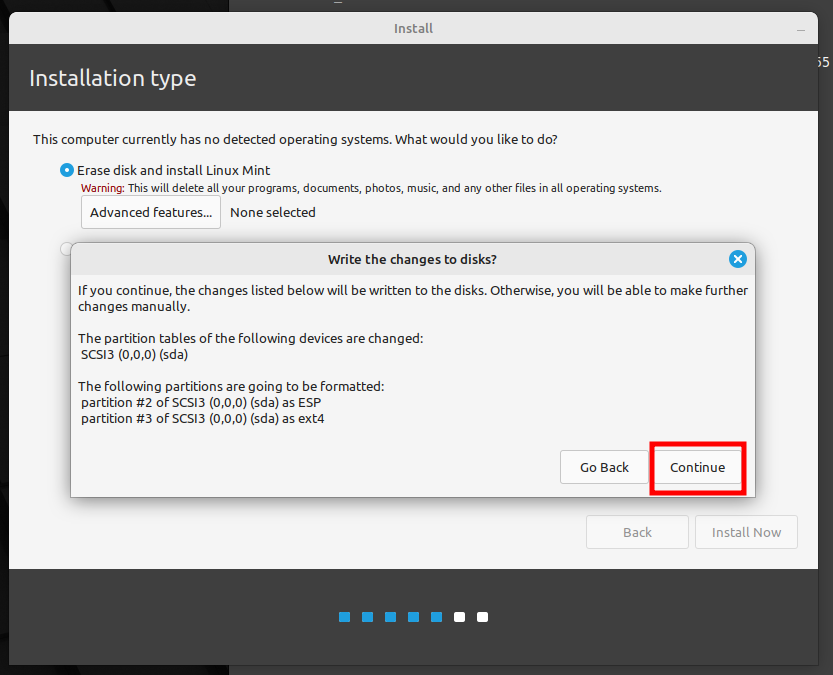
6. Choose an installation type.
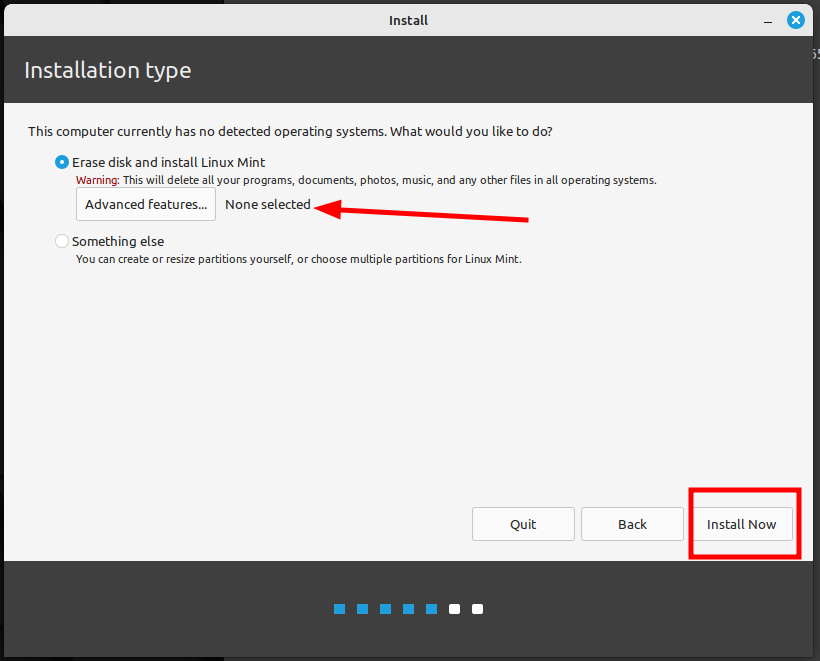
- If Linux Mint will be the only operating system on your computer and you are willing to erase all data on the hard drive, select "Erase disk and install Linux Mint".
**Warning**: "Encrypt the new Linux Mint installation for security" refers to full disk encryption. Keep in mind that at this stage, your keyboard layout is set to en\_US. If you choose this option, consider this when entering a password. Also, note that there are known issues with this option and some NVIDIA drivers. If you are new to Linux, it is recommended to use home directory encryption instead, which can be selected later during the installation.
- If another operating system is already present on the computer, the installer will offer an option to install Linux Mint alongside it. Choosing this option will automatically resize your existing operating system, create space, and install Linux Mint beside it. A boot menu will be set up to allow you to choose between the two operating systems each time you start your computer.
**Note**: If you want to manage the partitions manually or specify which partitions to use, select "Something else".
- Linux Mint requires one partition to be mounted on the root
/directory. The Linux Mint operating system itself (without additional software or personal data) takes approximately 15GB, so allocate a decent size (100GB or more based on your resources) for this partition. - The ext4 filesystem is recommended as it is the most popular Linux filesystem.
- Also, create a swap partition. This partition is used for hibernation and acts as a safety buffer if your computer runs out of RAM. Set the size of this partition equal to the amount of RAM in your computer.
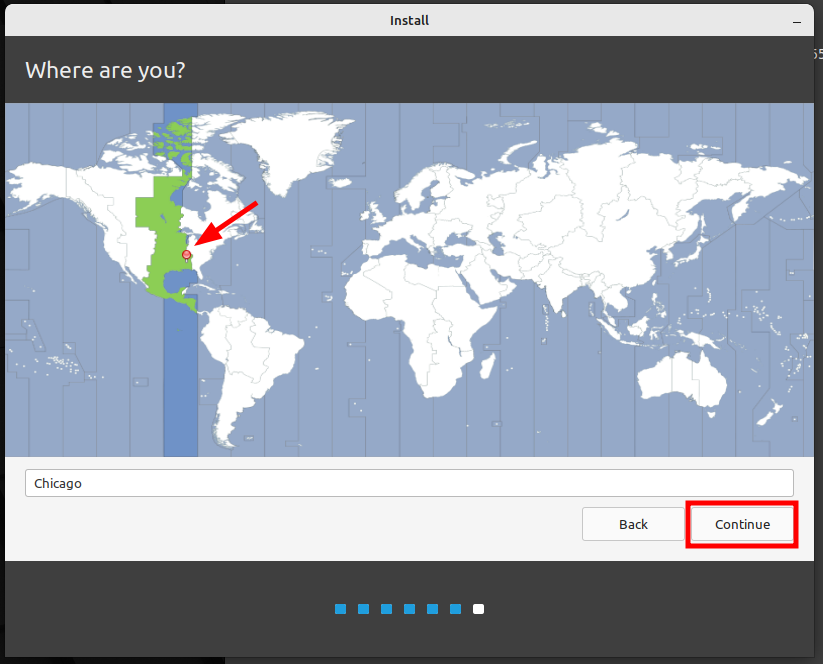
7. Select your timezone.
8. Enter your user details.
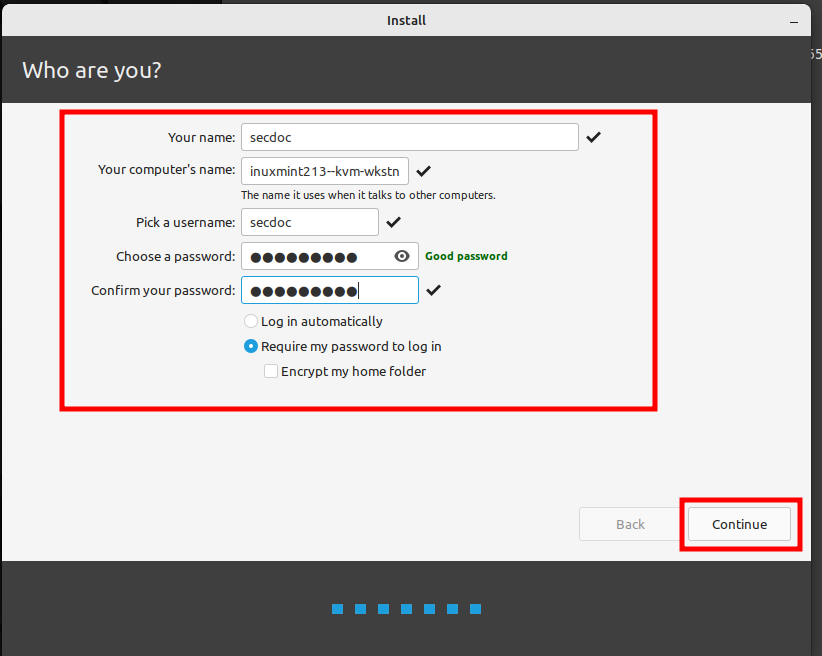
- Your name can be your real name or any preferred name. It is only used locally, in the screensaver and on the login screen.
- Your
usernameis what you use to log in, and yourhostnameis the name of your computer on the network. - To prevent bugs, use only lowercase characters, without punctuation or accents.
- To protect your personal data against local attacks (people around you or in case your computer gets stolen), tick the option to "Encrypt my home folder".
- Choose a
strong password.
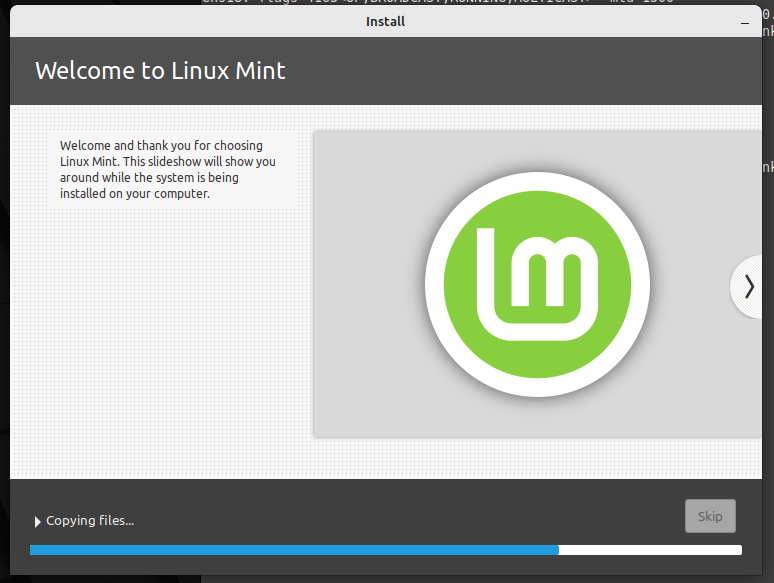
9. Enjoy the installer slideshow while Linux Mint is being installed on your computer.
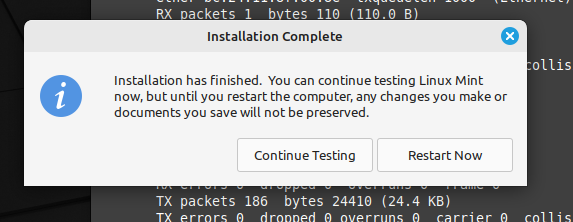
10. When the installation is finished, click on "Restart Now".
Start Using Linux Mint
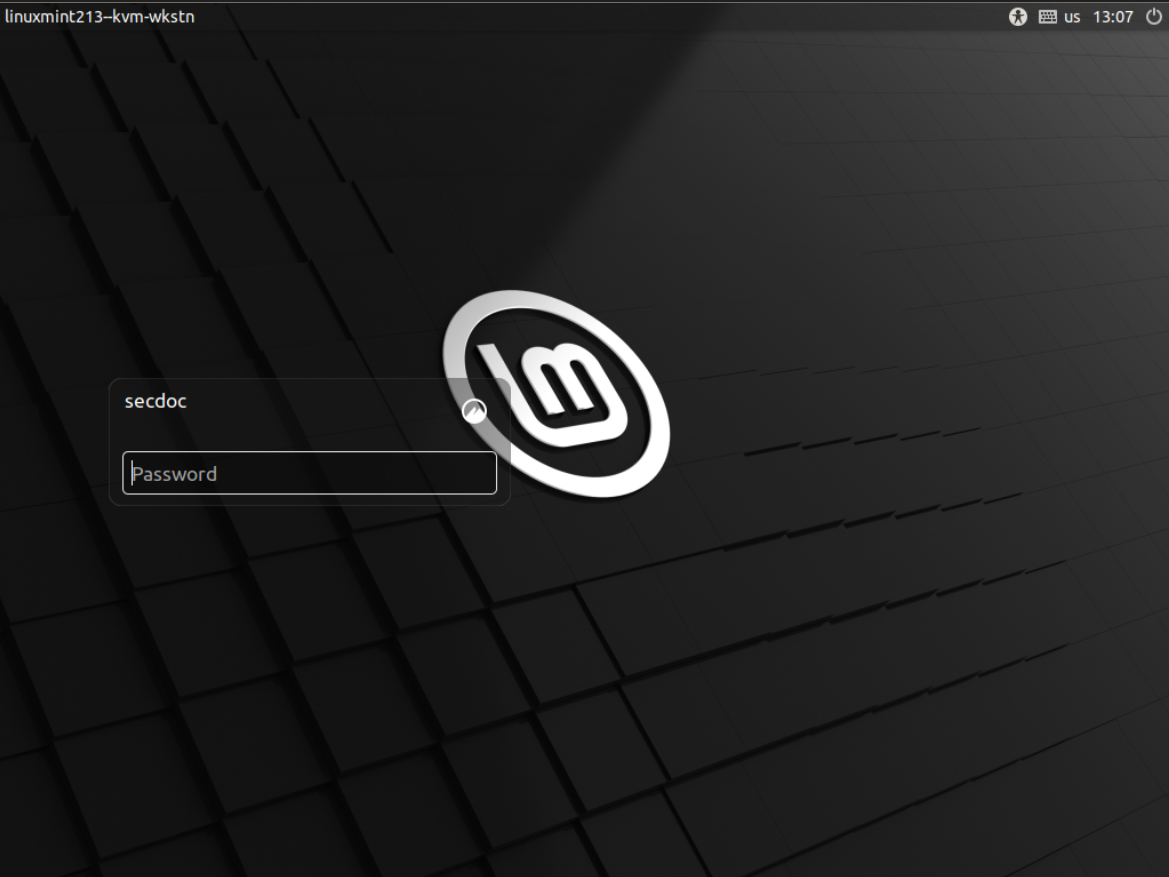
Now that you have installed the operating system and rebooted, you can log into the system using the username and password you just created at time of install.
When you log in you will be presented with a Welcome Screen.
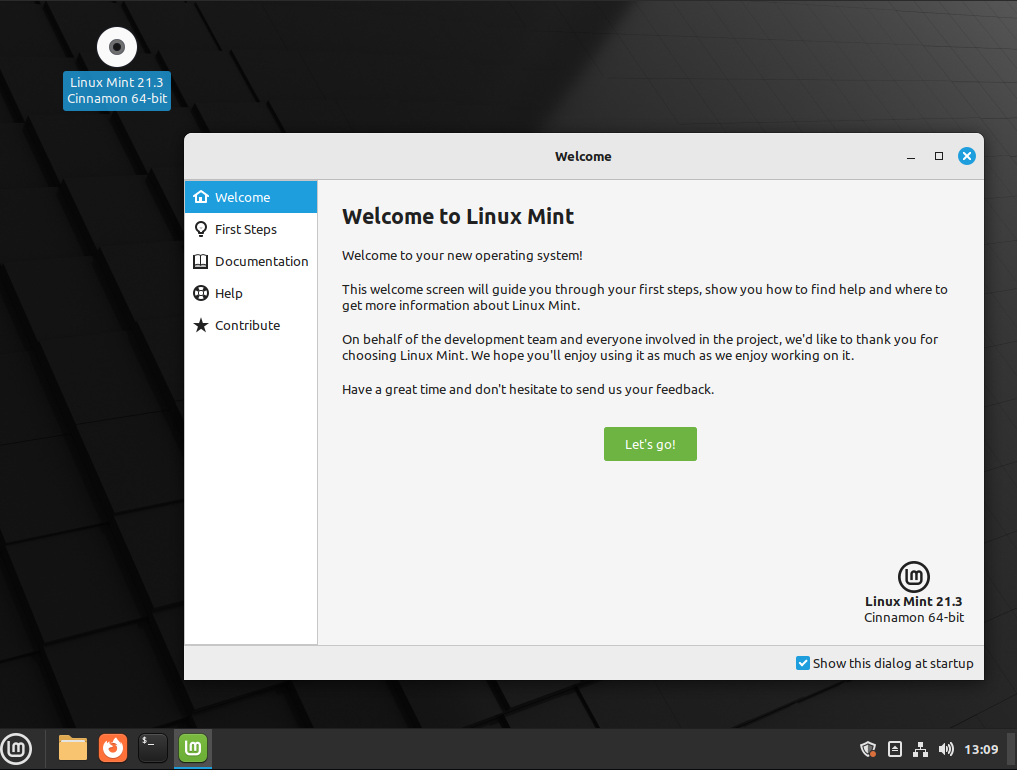
As you progress through the screen, it provides the opportunity for you to do some first steps to get the system the way you want it.
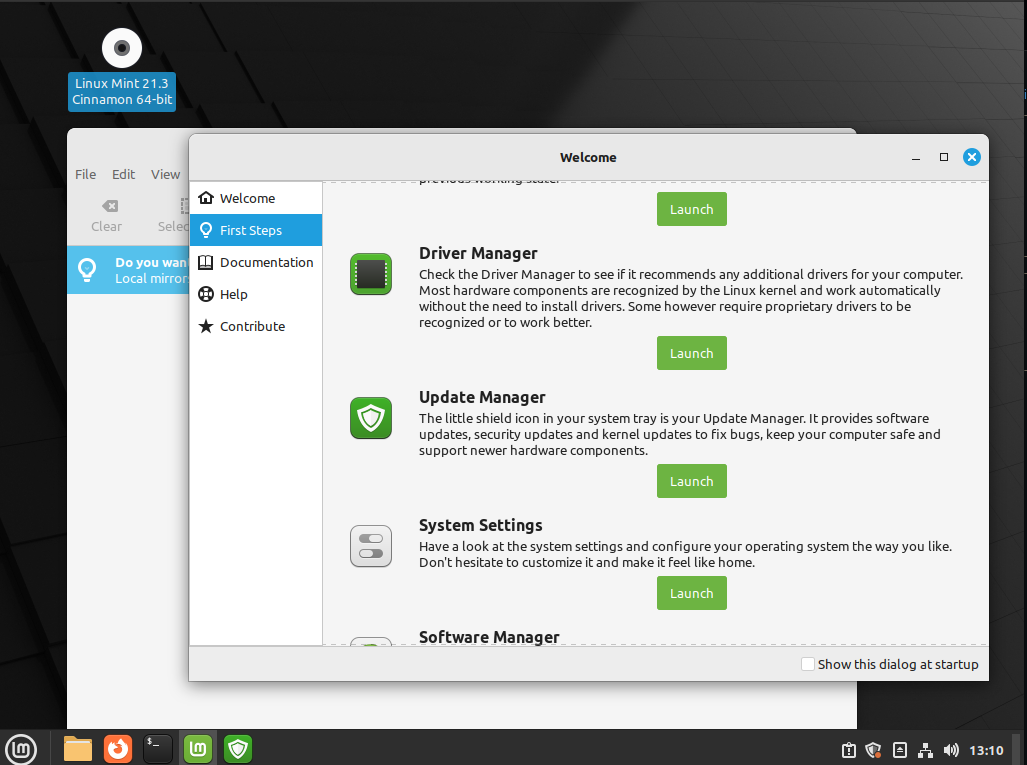
This includes making sure your system and software are up to date.
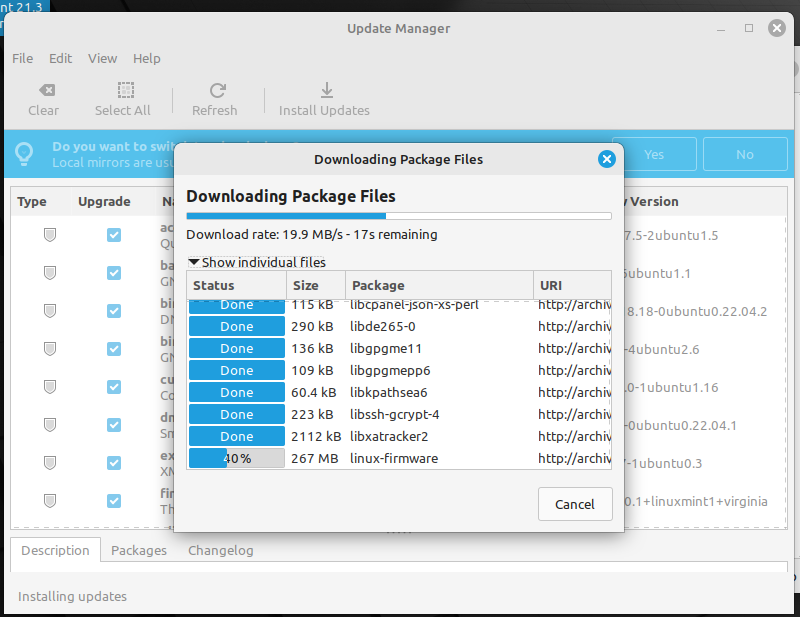
Once you have your system up to date.
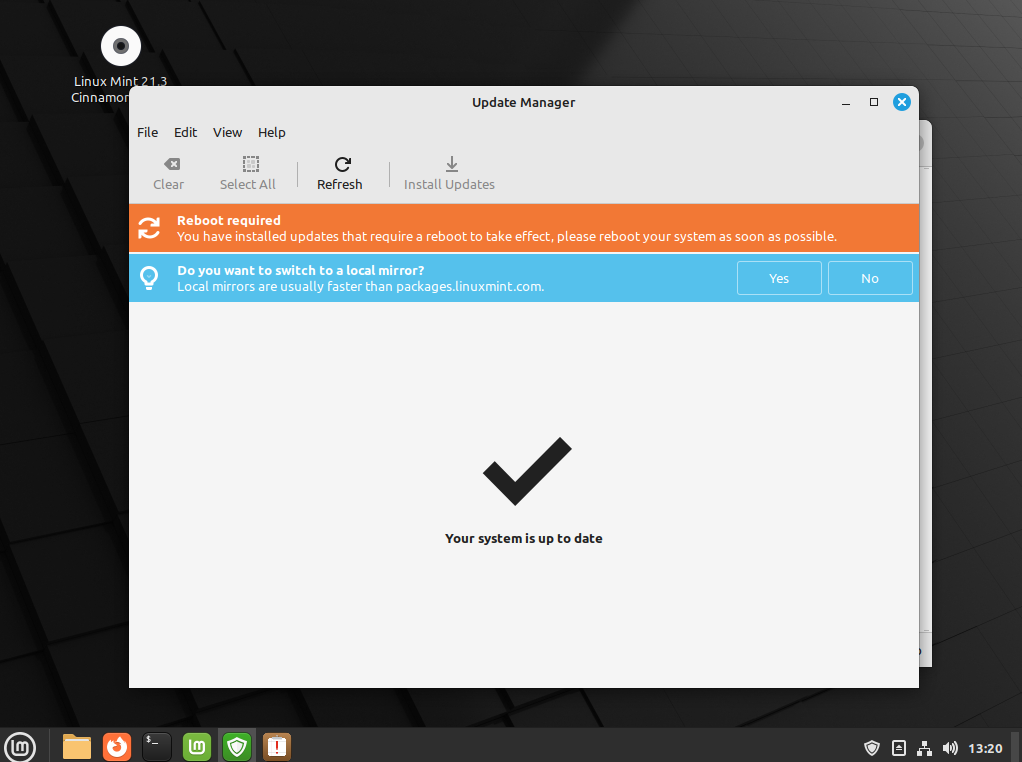
You can reboot by clicking on the Linux Mint Icon in a similar way you would with Microsoft Windows.
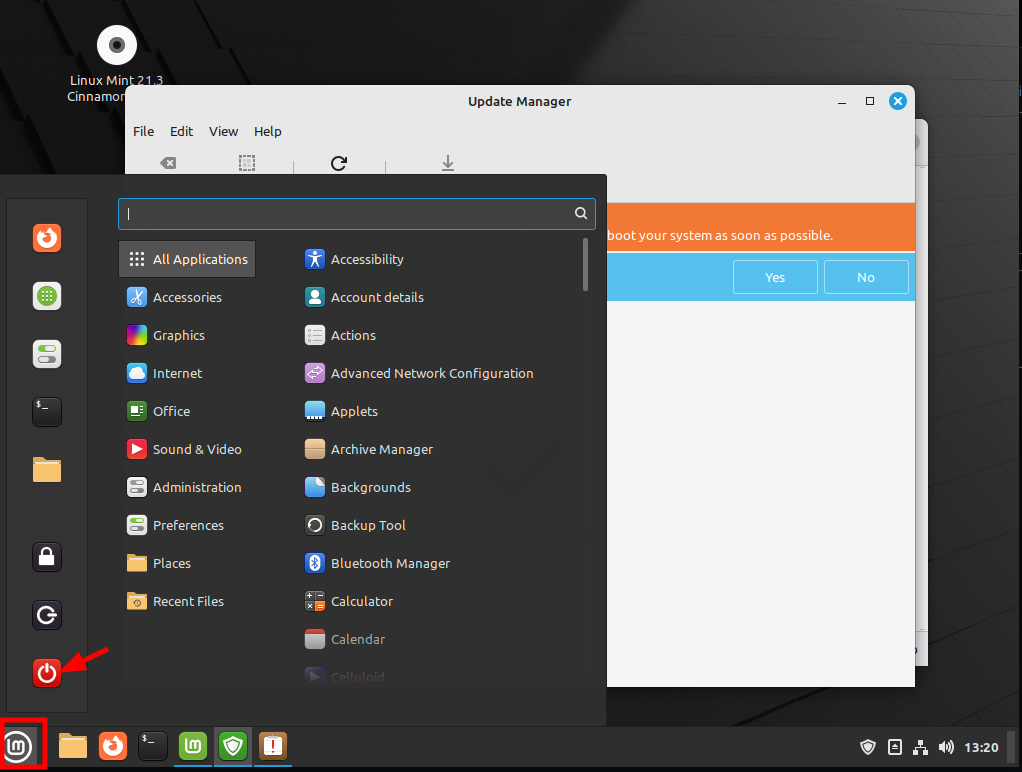
A dialogue box will be presented and select Restart.

Now you can start digging into and discovery the benefits of Linux. This is just the first step in getting started with your lab environment.
Basics Series #3 will be the installation of a firewall within your lab.


